![]()
![]()
![]()
![]()
Projects:
I have built a few projects during the last year. It took a while before I was confident and adventured to build some metal gadgets. Though not my first project, I will start with this one because it has turned out very nice.
A knurler is a mandatory project. You can buy one built, but... the real pleasure comes with building your own. Besides, how are you going to get the experience...
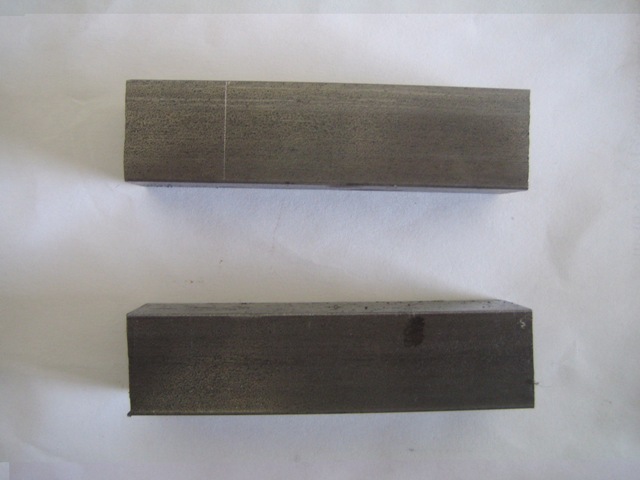
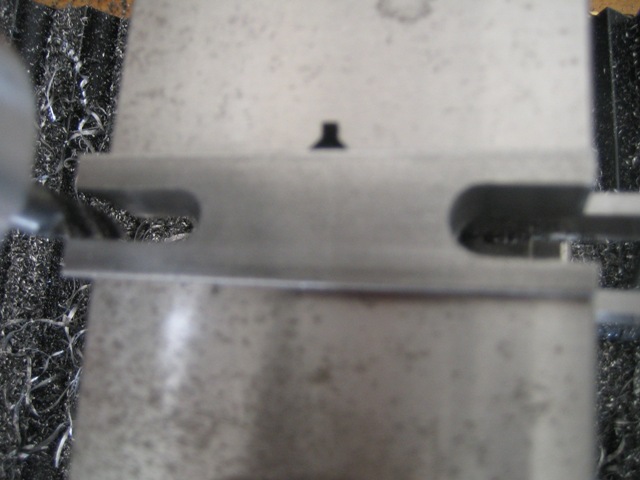
I started with two 5/8" square pieces of CRS, 3 inches long. These are shown in the first picture. You mill the slots according to the size of the bits you are going to use. My knurl bits were 3/8" thick. I drilled a hole at the medial margin and began the milling process. A 3/8" 4 flute end mill was used to complete this slot. You can see as the slot gets deeper. This medial hole is convenient as it delineates your margin and helps in clearing the chips as your slot gets deeper.

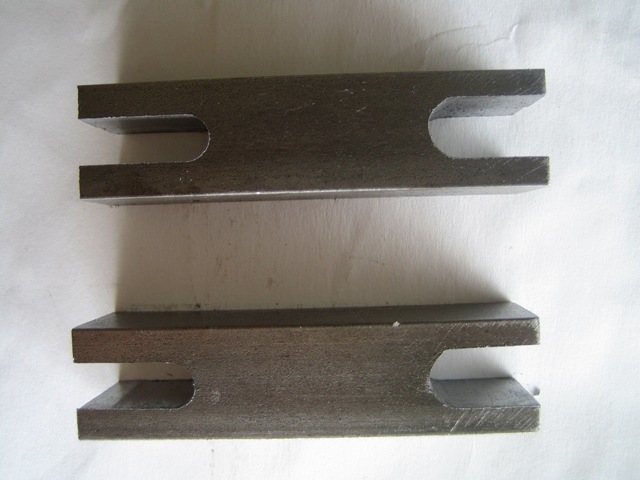
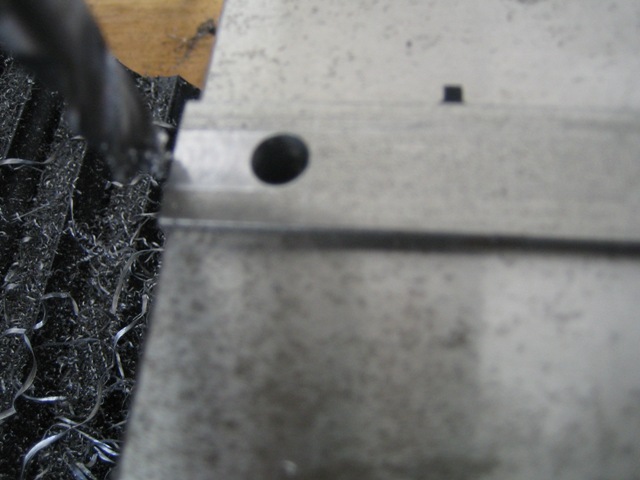
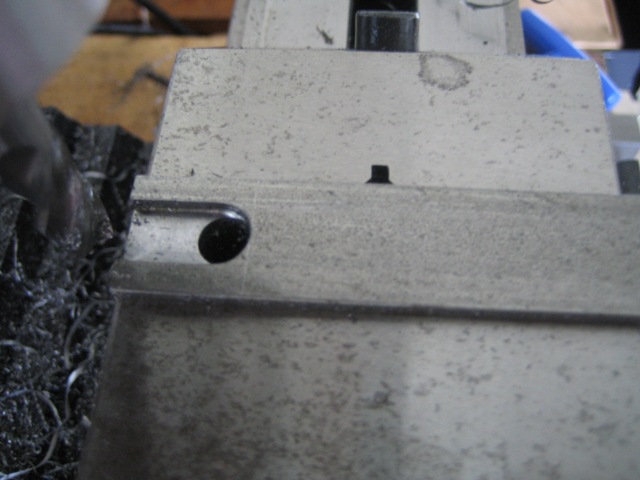
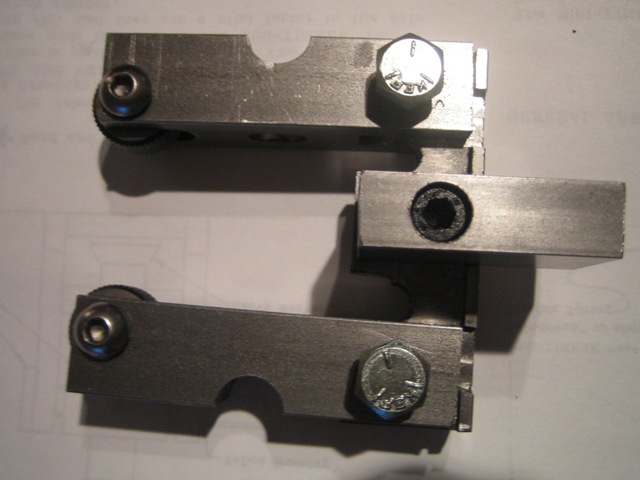
The next few pictures depict the milling of the slot to accommodate the plate that will hold the two arms together. I used a 5/16" end mill here because I had one. The plans called for a 3/8" slot also. The last picture shows the completed slots in the two arms. The center slot was milled using a 1/4" end mill. You should mill the 3 slots without taking the arm out of the vise. I did because I wanted to take nice pictures to show you.
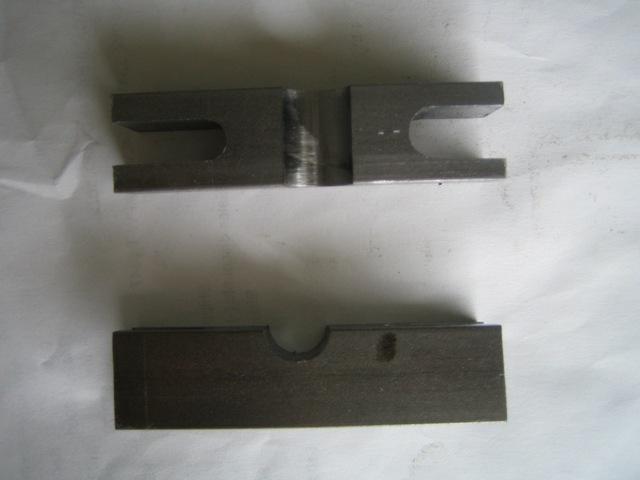
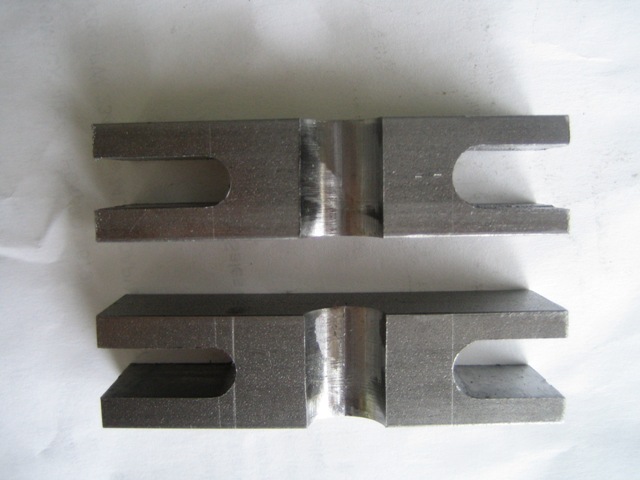

The arms are now complete as shown in the above pictures. The middle slot is milled as shown as well as the half circles to allow the threaded cylinders to seat perfectly. The knurling bits are held in place with screws that are chosen according to the center hole size in your knurling bits. Mine had 1/4" center holes. The completion of this project will be shown in the next few days. All that is needed is the plate that holds the two arms together. A good source for these plans is located in this link here. You should get ready and start your own project. That is what is all about.
Well, finally I got to it and completed the back plate that joins the two arms. I used a piece of CRS 3" long, 1/2" by 1. The holes were 5/16 in diameter (I had a bunch of screws that size, you could use 1/4" screws). The center bar is a piece of the 1/2" by 1 CRS about 2.5" long. It is held in place by a 1/4" screw which is countersunk. All I need now is the 1/4" screw that goes in the center and sets the diameter for the knurl. That is all for now...
T slot cross slide table for the mini lathe.
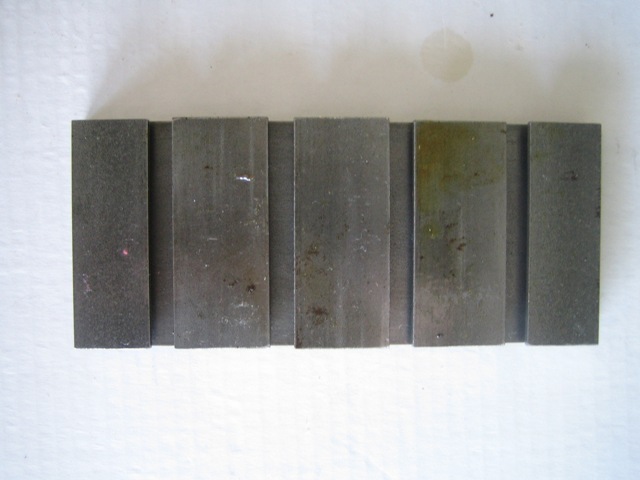
After reviewing some files in the mini lathe groups, I came across an article published in Model Engineer by Martin Cleve, many years ago. It described the construction of a T slot table for a lathe. Further exploration in the web showed a fellow machinist enthusiast had built it. I visited his very interesting site here. It provided me with plenty of information an encouragement to proceed with my own project. I charged my batteries and jumped into the water. Bought a foot of 3 inch, 1 inch and 1.25 inch wide, 0.25 thick CRS to build it. As described in the article, the cross slide is about 7 inches long by 3 inches wide. 3 pieces of 1.25 and 2 pieces of 1 inch wide by 3 inches long are used to build the T slots.
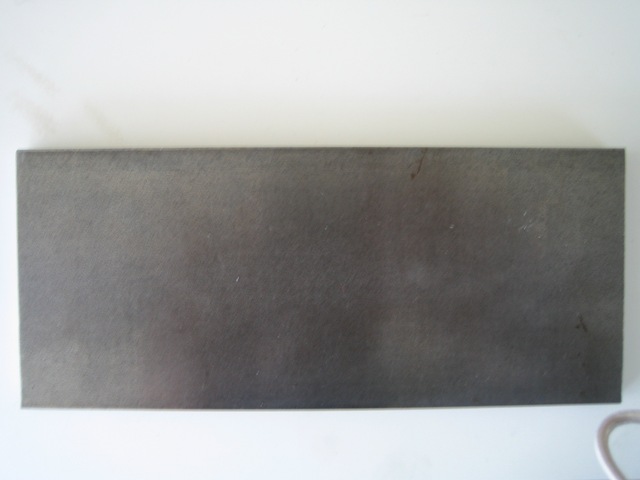
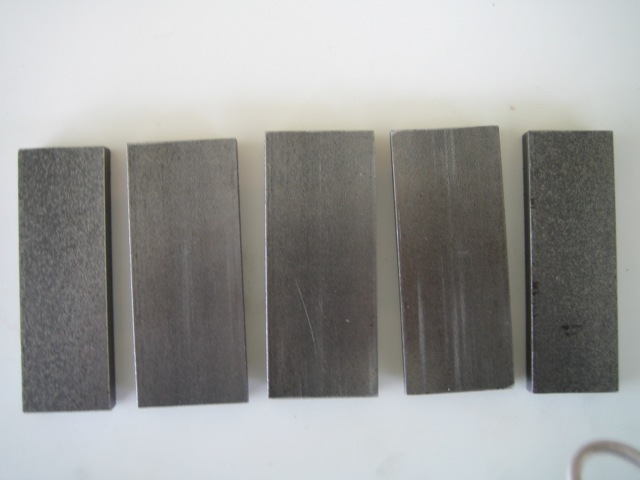
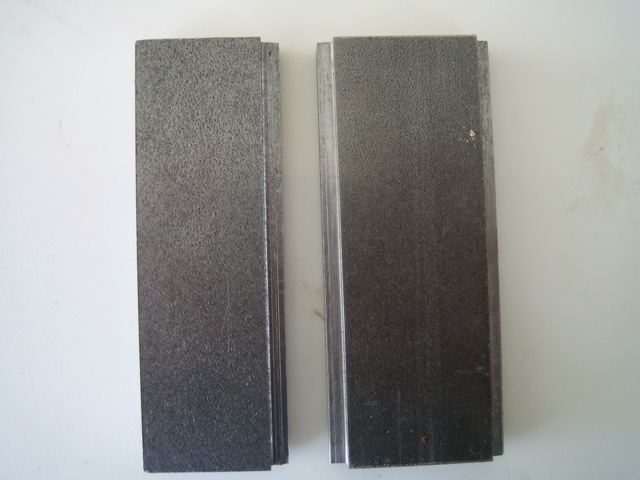
The pictures above show in the order they appear, the 3 X 7 " CRS piece that forms the base of the table. The next one shows the 5 pieces already cut to size. Love that band saw. Last picture shows the 1.25 and 1" CRS with the slots milled. Great to have a mini mill available. Before I acquired the mini mill all I could do was dream of this project. In the next week or so, I will make the dove tail piece and bolt the whole thing together. As you can figure, the T slots are formed by two adjoining segments. They will accept 5/16 bolts. Some progress made as I finally got to glue the different segments of the table together. This maneuver simplifies the process as it allows you to avoid having to clamp the whole thing together. Now you have a lot more room to work and drill the holes. The next step is to mill the dovetail guides. I need to get some more metal for this...
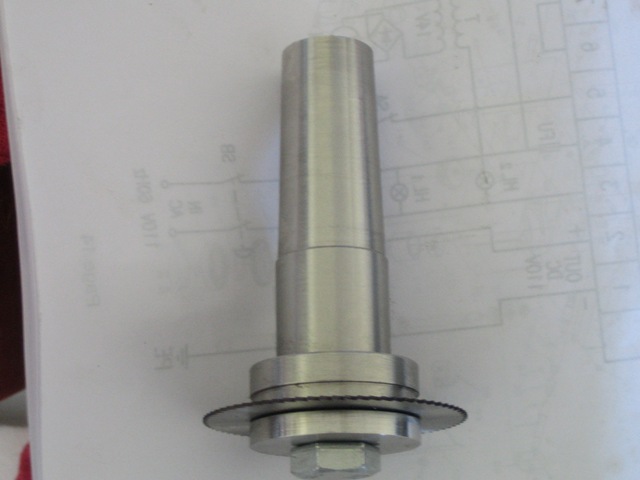
Slitting saw.
This was one of my first projects. Constructed out of Stainless Steel. Very pretty when machined and well finished. Unfortunately it very hard and more difficult to machine. There is a free machining SS 303 grade that is easier to work with. Still very tough when compared with aluminum, brass, copper, leaded steel. I spent many hours in my lathe making the MT3 arbor for this slitting saw. At the end, I was rewarded with a beautiful piece of equipment. Nothing like creating your own toys.