Machine tools and equipment.
My interest in machining came from the need to make printed circuit boards for my electronic hobby. I started with a Sherline mini mill which I used to drill my boards. I then added the lathe and the rest is history. I now own an Asian mini lathe and mini mill. Real men used bigger machines I was told. Your investment in the machines pales to what you really have to invest in tools. Boring heads, boring bars, tool bits, squares, tables, chucks, drills, end mills, and the list goes on and on. I am not an expert, these are my opinions. If you find any mistakes, please offer your constructive criticism, corrections. It will be appreciated. I am creating these files with the intention to help the beginner, to facilitate their understanding of this trade, technology and if possible encourage them to become chip and swarf makers.
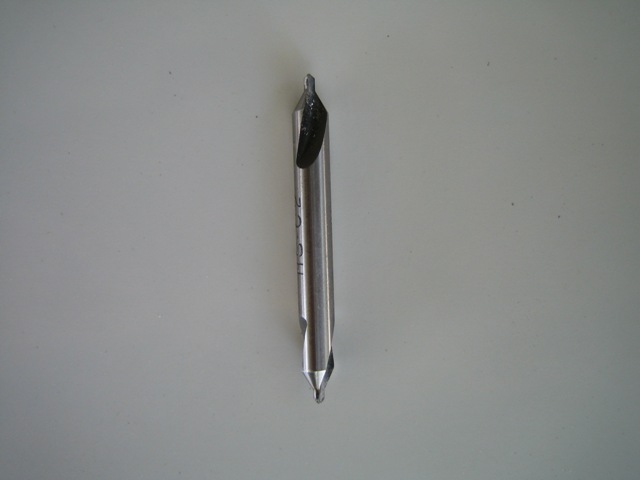
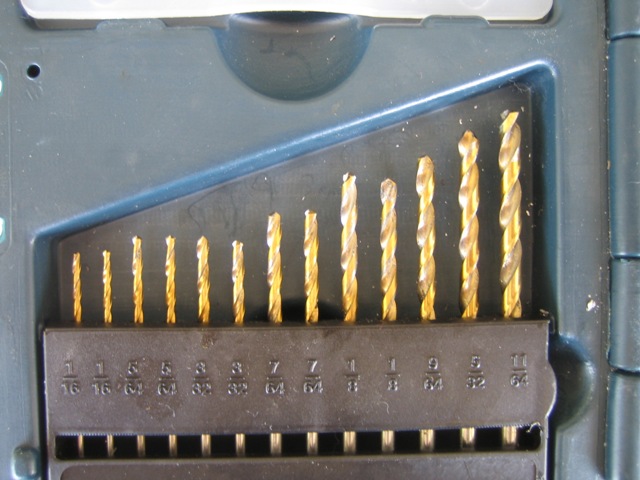
Drills, center drills.
When you are going to drill a hole in a piece of stock, you try to position your hole as accurate as possible. This is the function of the center drills. They allow you to place your hole with precision. This action is usually followed by drilling. There are many sizes of center drills, usually 1 through 5. Drills as picture on the right, come in all sizes, imperial and metric. Some are coated to improve durability. Those shown are titanium coated.
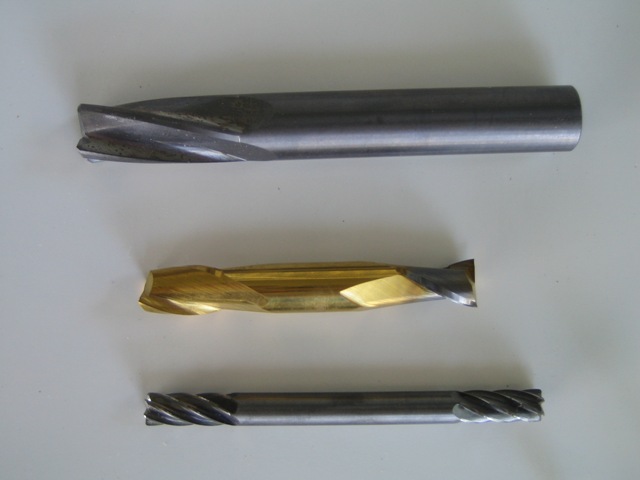
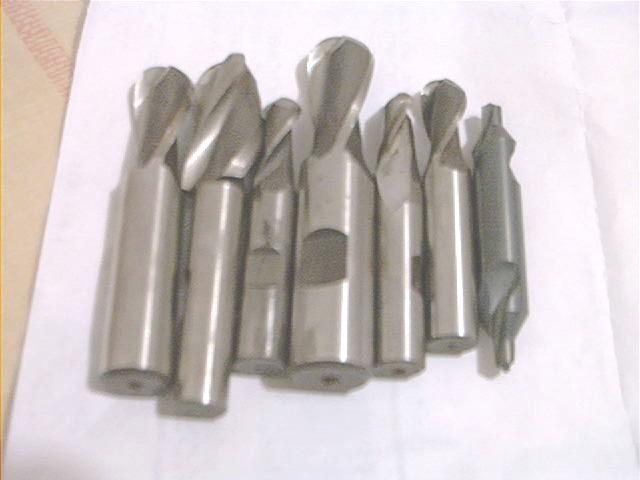
End mills.
They come in all sizes and shapes, single or multiple flutes. Center cutting, bull nose...The end mills are made of HSS, HSS cobalt, carbide, etc. Some are coated with special alloys to increase their durability. End mills can be center cutting or not. Center cutting end mills will cut with the tip like a drill bit. They produce a more uniform round hole that the drills. You can also cut with the side of the end mills. In the first picture you can see at the top, a 1/2 inch carbide, 4 flute end mill. Below is a 3/8 inch with a special coating (yellow color). It is a 2 flute end mill. At the bottom, a 1/4 inch, 6 flute end mill. As you can see, it has cutting edges on both ends. The second photograph shows several bull nose end mills and a center drill at the right. They have a round tip and therefore cut a round pocket
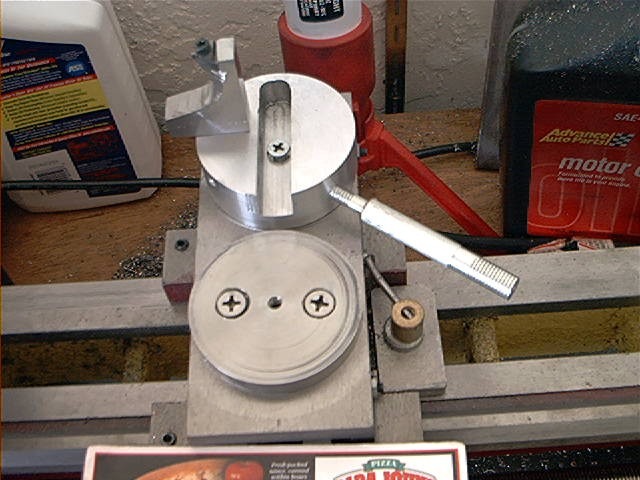
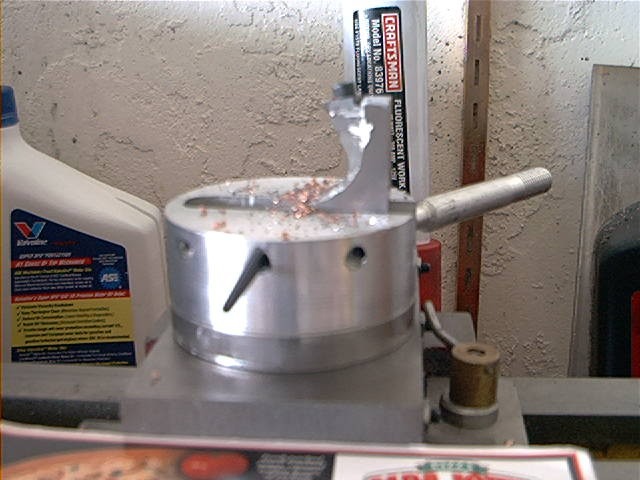
Ball turning tool.
This is a very attractive piece of equipment as it lets you machine round objects practically out of any material. Everybody likes balls. round handles, nice smooth surfaces for every occasion. You can see one of the original articles in great detail at Steve Bedair excellent web site. He has many improvements and construction projects for the 9X20 lathe. Highly recommended.
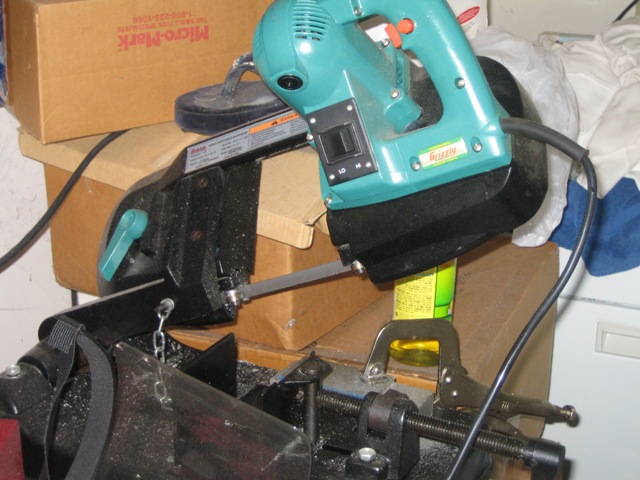
Band saw.
This is a must. After using a hacksaw for a day or two it quickly comes to realization that there must be a better way. My unit is the one sold by Grizzly. So far an excellent machine. After the original blade wears out, get a bimetal blade. They are a little bit more expensive, but do last a lot longer.
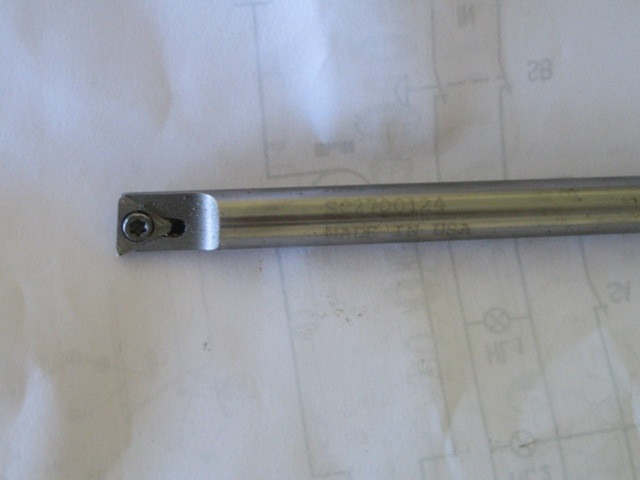
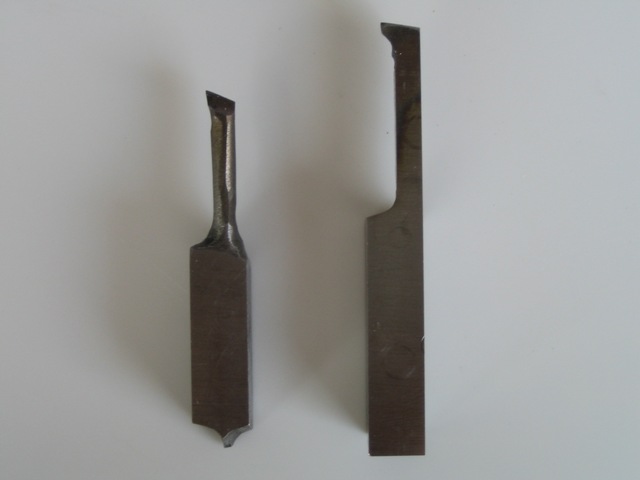
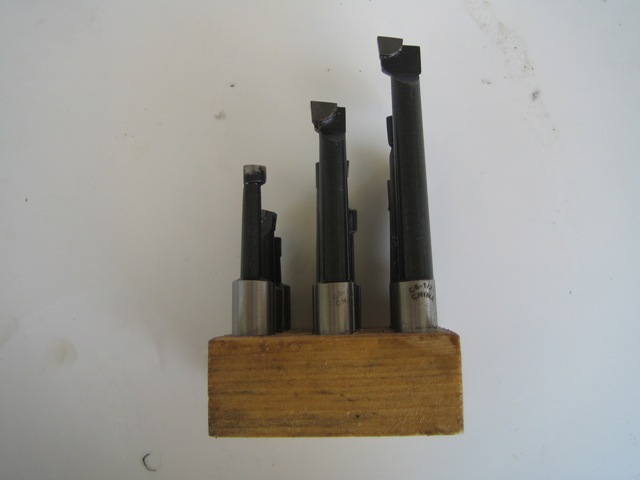
Boring Bars.
These are used in the lathe for making round holes that need to be large and accurate.You usually start by center drilling in the exact location. You follow with drilling to size where your boring bar can take over the process. As the name implies they are booooring... The first picture shows a boring bar that uses an insert. When your edge dulls, you just rotate the insert until all corners are used. Inserts are replaceable, come in different sizes, shapes, materials. The second picture, shows a HSS ground boring bars. They were made from a HSS 3/8 bits which were carefully ground to the shape shown. As usual, these bits need to be honed periodically when they lose their sharp edge.
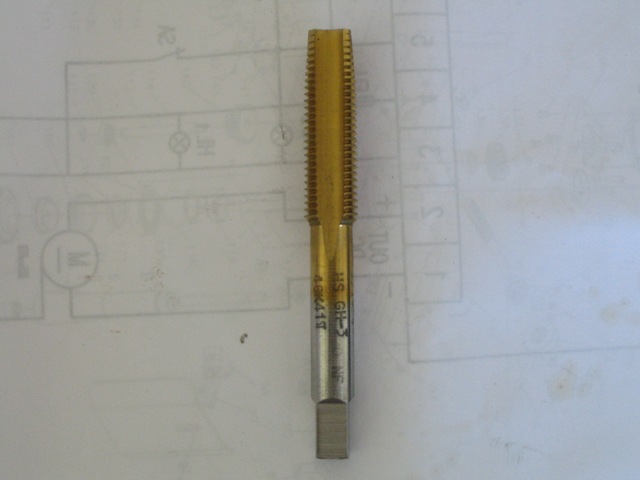
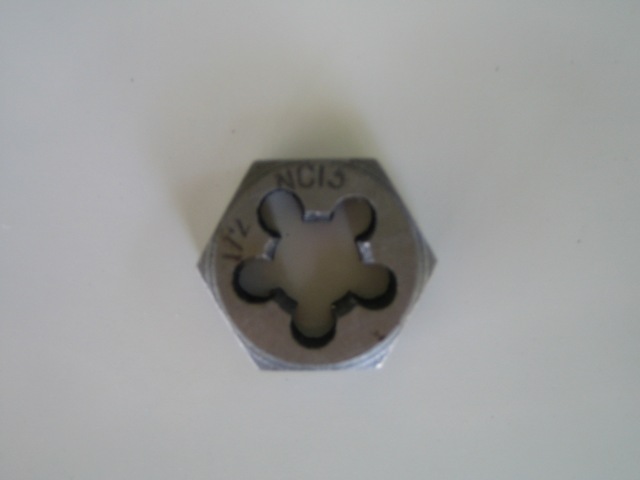
Taps and dies.
Taps are used to make threads in a hole so you can attach a bolt or any other threaded type of fastener. They come in many sizes. Usually taps are named by the type of threads they make in a hole, which translates to the size of bolt they will accept. There are several thread standards. The most widely used in America are the UNC or unified coarse, UNF unified fine and UNEF unified extra fine. A die makes the threads on a rod or round bar. Usually are used to make threads on small diameter rods. On larger diameters, then you use your lathe, doing what is called single point threading. This is an art. If you can cut threads well, you can do almost anything else. The first picture is an example of a quality tap 1/2-20. The second picture is typical of a button die.
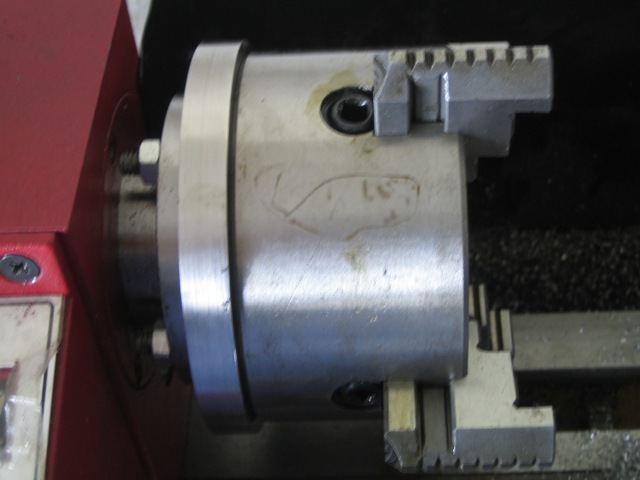
Back plate project for 4 inch chuck.
This was my second and toughest project. A backplate for a 4 inch chuck. As I got real happy with my slitting saw project in stainless steel, why not try with the back plate. It just looked so pretty!. Well, one thing that I learned very quick is that you can turn stock a lot easier than you can mill it. Live and learn. This was a tough puppy to complete. First step was to drill the 4 holes that hold the backplate to the spindle. After this, I tapped them for the screws that hold it onto the spindle. Next step was to bore the spindle recess. That is the most critical step. I spent a long time as I approached the final size. Cut, measure, try it. On, and on and on. I got it right after a lot of work. I turned my back plate around and it fit just tight. I faced the surface nice and smooth. I then center drilled, drilled and bore the larger holes that hold the chuck to the back plate. This took some time also. SS is very tough. After many hours of sweat, It came to life. A few more final touches and it works just fine. I certainly will not make a living as a machinist. I think I got so many hours on this one that it comes around a 2 dollars an hour for a $25.00 plate. Oh well, I am soooooo proud of it. He, he, he.
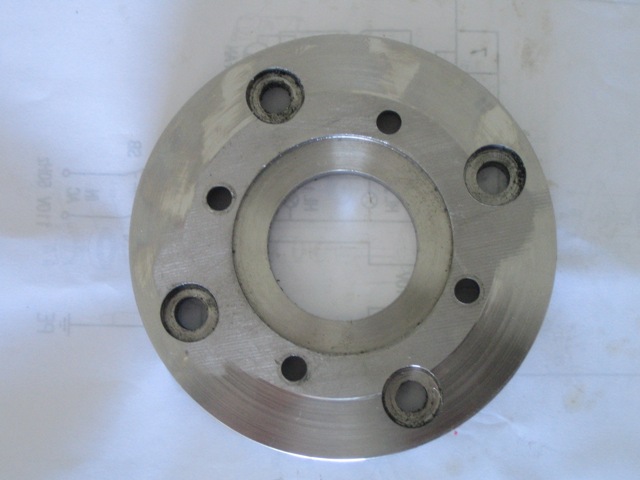
The first picture shows the almost finished product. Just before the last facing job. Second picture shows my 4 inch chuck and the back plate. It is enormous compared to the 3 inch one.